New Roof Installation Saint Helens
Top 10 Install New Roof in Saint Helens
Get up to 3 Roof Installation quotes for your project today! Compare profiles, reviews, accreditations, portfolio, etc... and choose the best offer.

The Fascia Division
59 reviewsLeigh, GBThe Fascia Division is a specialist installer of replacement fascias, soffits, guttering, and cladding. We offer a 10-year installation guarantee and are certified preferred installers for Hardie Plank cladding. Our team of experienced craftsmen provides high-quality installations, and we don't use reps or high-pressure selling techniques. We offer free no-obligation fixed quotations and our work is covered by a 10-year installation warranty with an optional IBG (Insurance Backed Guarantee).
- Services
- Why Us?
- Accreditations
- Our Team
- Testimonials
- Gallery
Get Quote
LRH ROOFING SERVICES
521 reviewsGBAt LRH Roofing and Building Services, we’re passionate about good roofing standards, exceptional service and positive team spirit. We understand how valuable your time is, which is why we will leave no stone unturned in order to find the right solution for your roofing projects. I established LRH Roofing and Building Services, a company dedicated to finding cutting-edge solutions and providing great services. Our services aim to satisfy all of our customers, anytime, anywhere. We are committed to customer satisfaction as our top priority. If you want to learn more about how we do business, give us a call today. LRH Roofing and Building Services is committed to providing creative and scalable solutions for every customer. We know that each customer is different, which is why we try to customize each project to suit your needs. Learn more about what we offer below and give us a call to arrange a free survey. All of our services, especially this one, exist to make your life easier and stress-free. You can trust us to provide you with the best products, as well as the highest quality customer service. Get in touch to learn more. All our surveys are free of charge. We always aim to give you the best professional advice to suit your needs. Please get in touch so we can also give you a great price
- Services
- Why Us?
- Accreditations
- Gallery
Get Quote
Leak Proof Roofing
4.9207 reviews189 Regent Road, Liverpool, L20 8DQ, GBLeak Proof Roofing Services Liverpool is a locally based, family run firm with over 20+ years of experience helping people restore their roof back to a good condition. Our team of Liverpool based roofers have been helping repair leaks, replace roofs, install skylights and a lot more. No matter what the issue, we’re confident we can help you with all your roofing needs. Every job is guaranteed, only high quality materials are used, and free estimates are provided for any job. We are a trusted 5 star rated company, insurance work is undertaken, and finance is available with rates starting at 0.0% APR.
- Services
- Why Us?
- Testimonials
- Gallery
Get Quote
Kershaw Roofing & Cladding
34 Parham Drive, Unit G Woodside Trade Centre, Eastleigh, SO50 4NU, GBKershaw Roofing Limited is a leading provider of roofing and cladding solutions for commercial, industrial, and residential clients. With a wealth of experience and a commitment to excellence, we offer a comprehensive range of services, including sheet roofing and cladding, rainscreen systems, pitched roofing, single-ply roofing, structural roof decking, living roofs and walls, cold-applied liquid roofing, solar PV, asbestos removal, industrial and commercial flooring, and safety systems. We pride ourselves on our ability to deliver high-quality workmanship, innovative solutions, and exceptional customer service. Our team of skilled professionals is dedicated to providing tailored solutions that meet the specific needs of each client. Whether you require a new roof installation, a refurbishment, or maintenance services, Kershaw Roofing is your trusted partner. We are committed to exceeding your expectations and ensuring your complete satisfaction.
- Services
- Why Us?
- Accreditations
- Our Team
- Testimonials
- Gallery
Get Quote
Majestic Roofing Solutions Ltd
53 reviewsSt Marys New House Avenue, Wickford, SS12 0JY, GBWe are experts in all aspects of Roofing and Roof Repairs in Essex. We are fully qualified and competent to undertake any roofing job and we are fully Insured. We strive to be the best roofing company in Essex and this is reflected by the 5 star reviews we receive. We will always aim to repair your roof rather than get a new roof in all instances and will only recommend a replacement if absolutely necessary. We pride ourselves on customer satisfaction and we know when we do a great job you will recommend us time and time again. We offer a FREE no obligation roofing survey. Call our team today to book a free survey – or for free help and advice.
- Services
- Why Us?
- Accreditations
- Our Team
- Testimonials
- Gallery
Get Quote
RTB Roofing Limited
4.26 reviewsGBRTB Roofing Limited is a roofing company based in London, UK. We are a family-run business with over 20 years of experience in the roofing industry. We offer a wide range of roofing services, including new roof installations, roof repairs, and roof maintenance. We are fully insured and accredited by the National Federation of Roofing Contractors.
- Services
- Why Us?
- Accreditations
- Gallery
Get Quote
Armstrong Roofing
51 reviewsWigan, GBWelcome to Armstrong Roofing Specialists, a professional roofing company with 25 years of trading history. We are a family-run business established in 1986, carrying out all forms of domestic and commercial roofing work. We are fully trusted to carry out insurance work and have a history of satisfied clients who will testify to the quality of our projects. We understand that the two major things that are important to you are the price and the quality of our previous work. We believe that we are one of the very best value for money roofing specialists in the industry, with all of our previous customers having identical quotes that cost 20, 30, sometimes 40% more than we quoted. We are a friendly team, contact us to discuss your requirements and receive a free estimation.
- Services
- Why Us?
- Accreditations
- Our Team
- Testimonials
- Gallery
Get Quote
Widnes Roofing
4.515 reviews4 Foundry Lane, Widnes, GBDW Roofing serves as the leading Roofing Contracting firm in the Widnes area. We’re a team of fully-certified professionals who tackle everything from complex large projects to smaller scale jobs. Fuelled by our commitment to excellence, we go the extra mile to make sure our clients are completely satisfied with our work. From slate replacement to large new roof installations, we specialise in all aspects of slated, tiled, flat and fibreglass covered roofs. We only use high-quality materials for all our roofing work so you can be sure that your roof will be strong and durable for years to come. We’ll take on any size job, from a small roof repair through to a full roof replacement which includes pitching up of flat roofs, felt roofs, conservatory roofing, Velux windows and uPVC roof line replacement. All our staff reflect our organisation beliefs and therefore follow our high-standard of customer support, your residence will be taken care of while using the utmost respect always.
- Services
- Why Us?
- Gallery
Get Quote
Brock Roofing
51 reviews100 Woolton Road, Liverpool, L25 7AA, GBWelcome to Brock Roofing Ltd, Liverpool's flat roofing specialist serving domestic & commercial customers throughout the North West. Established for over 40 years, Brock Roofing work to the highest quality standards and we pride ourselves in providing an exceptional roofing service to the highest standard. We provide competitive quotes and aim to carry out work as quickly as possible, while ensuring safety and quality at all times. We offer an exceptional service to both the commercial sector and domestic customers, our domestic services including: Garage Roofs Extensions Porch Roofs Dormers Flat Roof Repair Systems 24hr Emergency Call Out Free Estimates No matter how large or small your flat roofing requirements are, we are always happy to offer help. Examples: Based in Woolton Liverpool, Brock Roofing cover the following areas: Woolton Gateacre Aigburth Mossley Hill Halewood Hunts Cross Garston Childwall Widnes Cronton Huyton Liverpool Click for full gallery Click for full gallery If you have any questions or would like a no obligation quotation, please feel free to contact us. We also offer a 24 hr Emergency call out service. View some samples of the work undertaken to transform your existing roof. Copyright © 2011 Brock Roofing - Liverpool Flat Roofing Specialist
- Services
- Why Us?
- Gallery
Get Quote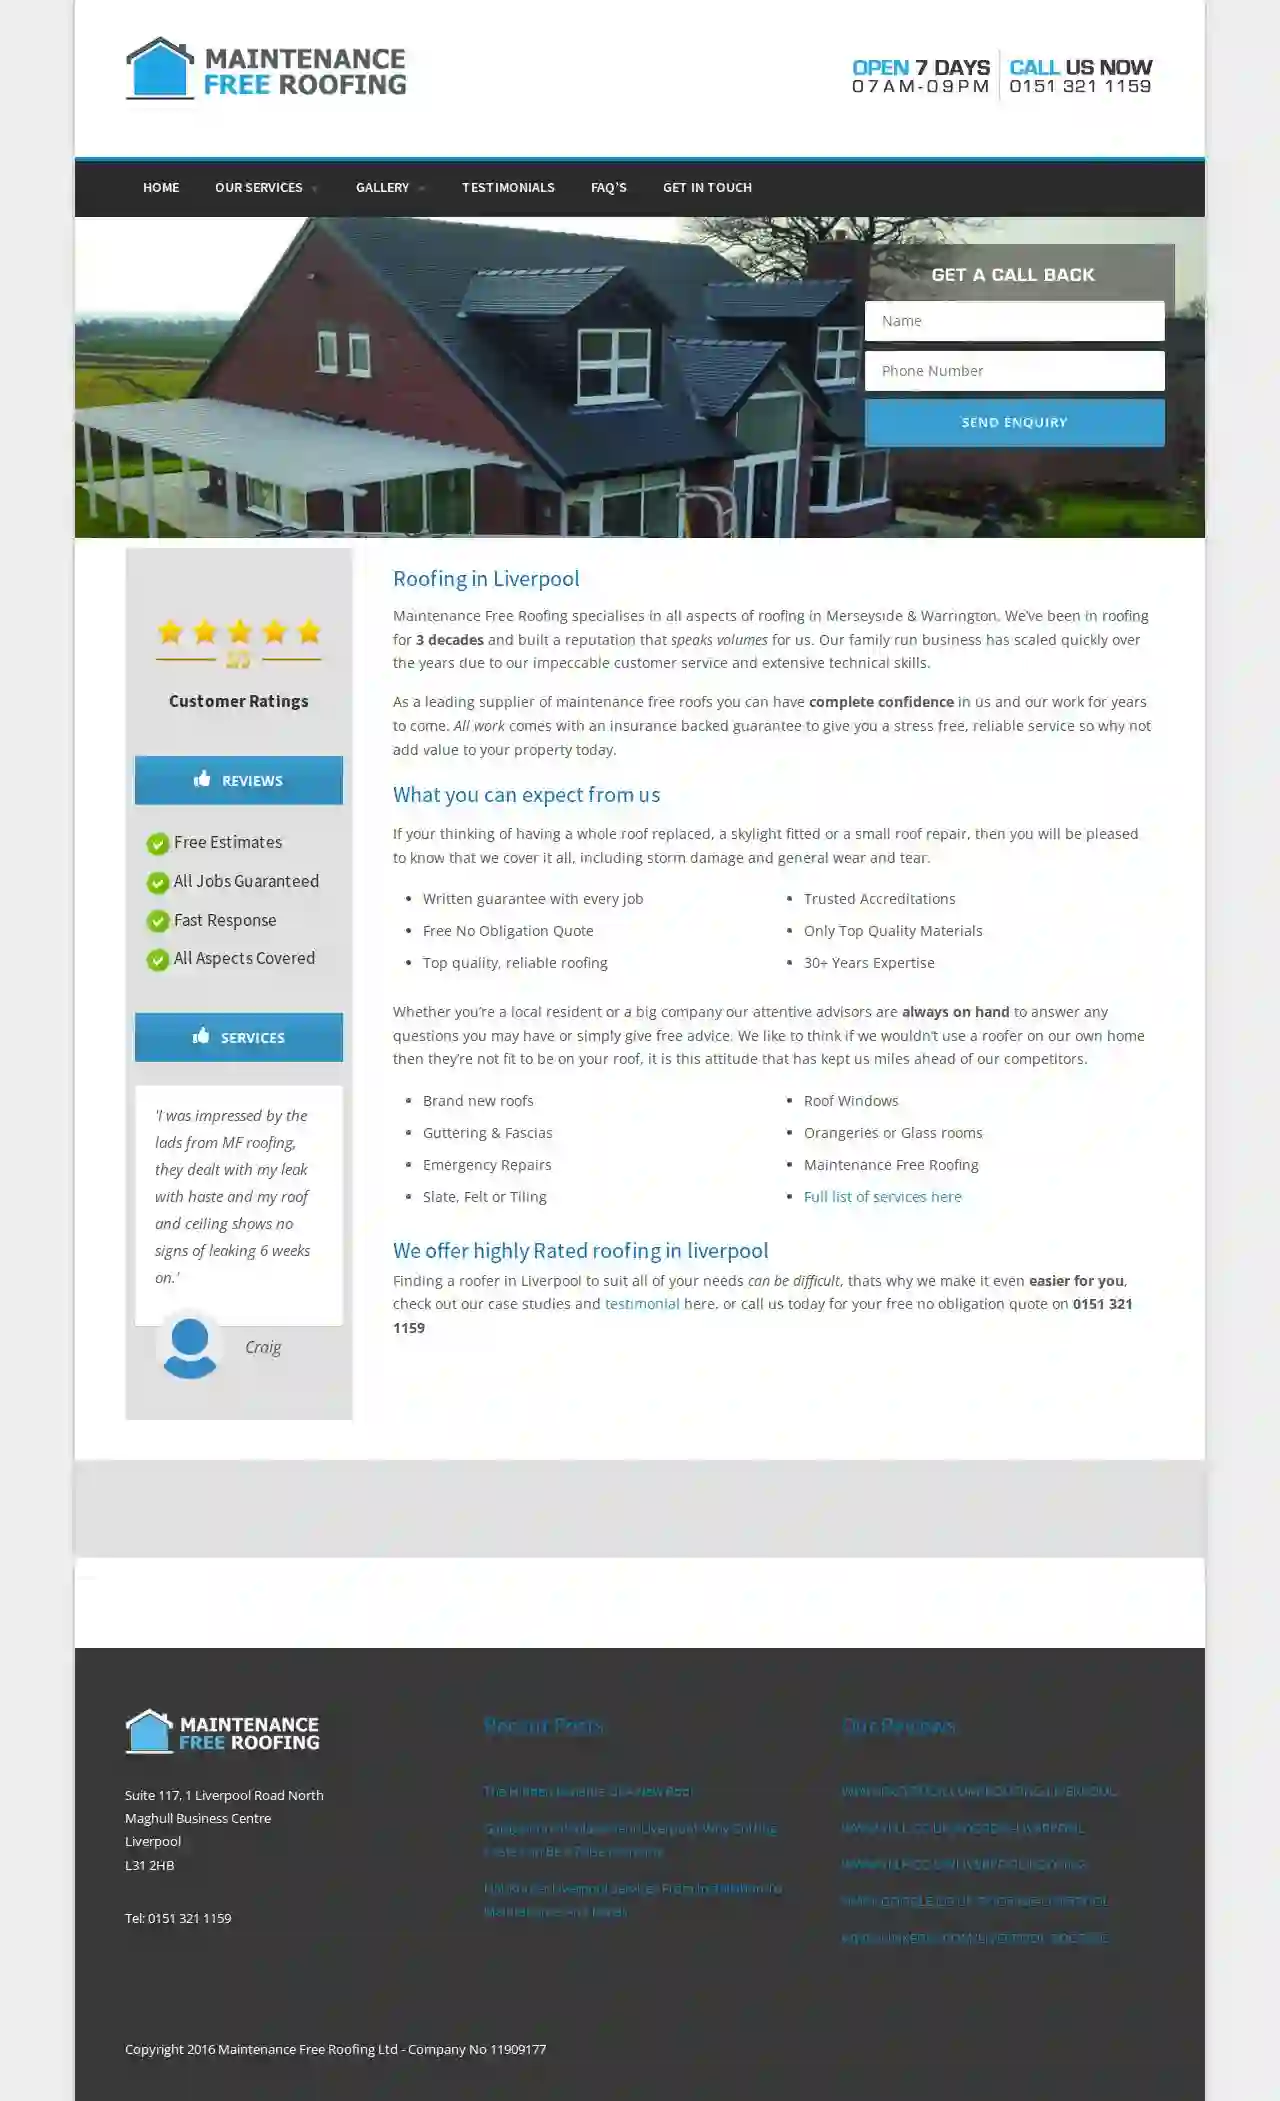
Maintenance Free Roofing LTD
4.673 reviewsSuite 117, 1 Liverpool Road North, Liverpool, L31 2HB, GBMaintenance Free Roofing specialises in all aspects of roofing in Merseyside & Warrington. We’ve been in roofing for 3 decades and built a reputation that speaks volumes for us. Our family run business has scaled quickly over the years due to our impeccable customer service and extensive technical skills. As a leading supplier of maintenance free roofs you can have complete confidence in us and our work for years to come. All work comes with an insurance backed guarantee to give you a stress free, reliable service so why not add value to your property today. If your thinking of having a whole roof replaced, a skylight fitted or a small roof repair, then you will be pleased to know that we cover it all, including storm damage and general wear and tear. Whether you’re a local resident or a big company our attentive advisors are always on hand to answer any questions you may have or simply give free advice. We like to think if we wouldn’t use a roofer on our own home then they’re not fit to be on your roof, it is this attitude that has kept us miles ahead of our competitors.
- Services
- Why Us?
- Accreditations
- Our Team
- Testimonials
- Gallery
Get Quote
Over 12,314+ Roofing Businesses on our platform
Our roofing experts operate in Saint Helens and surroundings!
Roofyng.co.uk has curated and vetted the Best Roofers near Saint Helens. Find a top & trustworthy pro today.
New Roof Installation FAQs
- Excessive heat in the attic during summer.
- Moisture or frost buildup in the attic during winter.
- Premature shingle deterioration.
- Higher than usual energy bills.
- Chimneys
- Vents
- Skylights
- Walls
- Valleys
- Other areas where the roof changes plane or intersects with a vertical surface
- Check Online Reviews: Look for positive reviews and ratings from reputable sources.
- Ask for Recommendations: Get referrals from friends, family, or neighbors.
- Verify Licensing and Insurance: Ensure they are licensed and carry appropriate insurance coverage.
- Get Multiple Quotes: Compare estimates from several contractors, considering price, scope of work, and materials.
- Check for Warranties: Inquire about both manufacturer warranties on materials and workmanship warranties from the contractor.
How do I know if my roof ventilation is adequate?
What is the purpose of roof flashing?
What is the difference between a roofer and a roof inspector?
Roofer: A skilled tradesperson who performs the hands-on work of installing, repairing, or replacing roofs.
Roof Inspector: A qualified professional who assesses the roof's condition and provides a detailed report of their findings, without doing repairs.
How do I find a reputable roofing contractor for a new roof installation?
How do I know if my roof ventilation is adequate?
- Excessive heat in the attic during summer.
- Moisture or frost buildup in the attic during winter.
- Premature shingle deterioration.
- Higher than usual energy bills.
What is the purpose of roof flashing?
- Chimneys
- Vents
- Skylights
- Walls
- Valleys
- Other areas where the roof changes plane or intersects with a vertical surface
What is the difference between a roofer and a roof inspector?
Roofer: A skilled tradesperson who performs the hands-on work of installing, repairing, or replacing roofs.
Roof Inspector: A qualified professional who assesses the roof's condition and provides a detailed report of their findings, without doing repairs.
How do I find a reputable roofing contractor for a new roof installation?
- Check Online Reviews: Look for positive reviews and ratings from reputable sources.
- Ask for Recommendations: Get referrals from friends, family, or neighbors.
- Verify Licensing and Insurance: Ensure they are licensed and carry appropriate insurance coverage.
- Get Multiple Quotes: Compare estimates from several contractors, considering price, scope of work, and materials.
- Check for Warranties: Inquire about both manufacturer warranties on materials and workmanship warranties from the contractor.